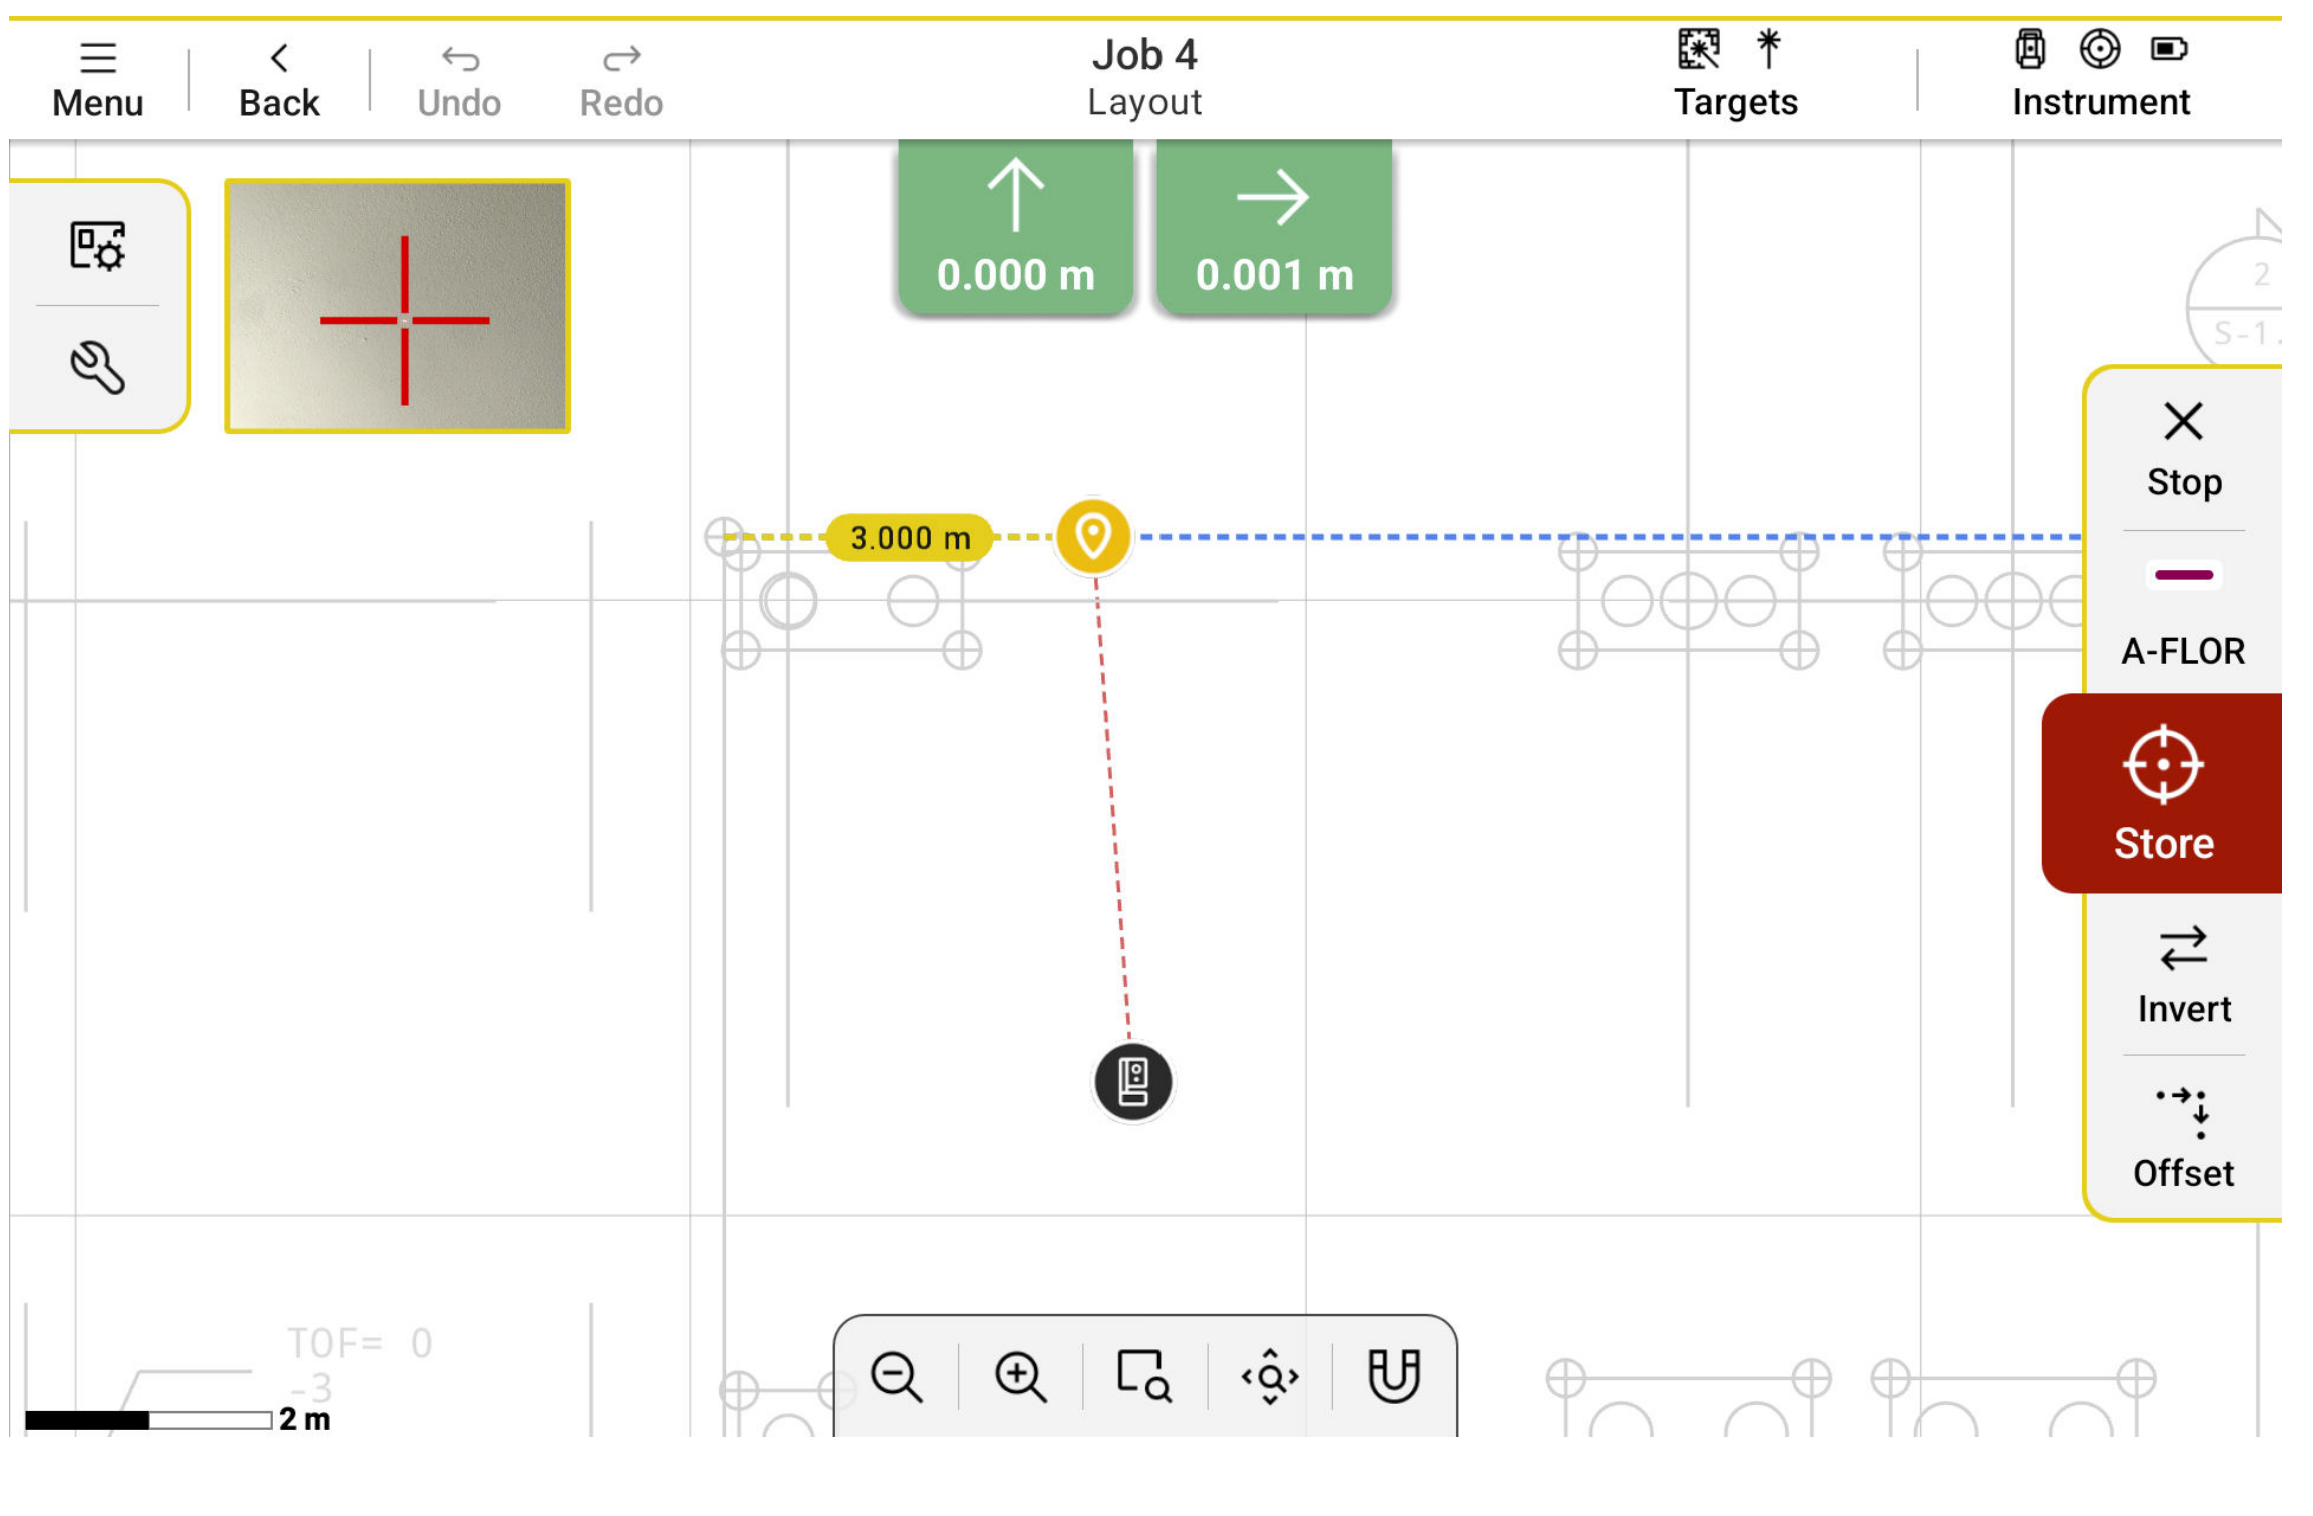
How to Layout other Elements with the Laser
Use the laser pointer of the instrument to find the real position of lines,
polylines, circles and other objects from the drawing.
- The instrument turns automatically to the selected point along the object.
- The instrument projects automatically the point on the as-built surface if the designed surface cannot be found.
- When the layout information is stored, the instrument automatically
moves to the next point that belongs to the object.
- Select Any Surface from the Targets Menu.
- Select an object.
- Select a starting vertex or segment to layout.
- This is not required for circles and arcs.
- Aim to the layout surface. Required only if the setup is 2D and does not have a height.
- Tap Layout.
- Define the distance along the object and optionally the offset from the object. Refer to Layout with an Offset.
- Tap Confirm.
- Mark the point at the laser position.
- Tap Store to save the layout quality information.
Additional Options:
| Icon | |
 |
Surface Change the surface used for layout. The icon shows the current active surface. |
Example:

☞ Aiming to the surface is required if the position cannot be found automatically.
☞ Tap Invert to change the order of vertices during the layout.