- Measure application
- Action button configuration
- Coding
- Stakeout applications
- Toolbox
- Visualization and stakeout modes
The Measure application
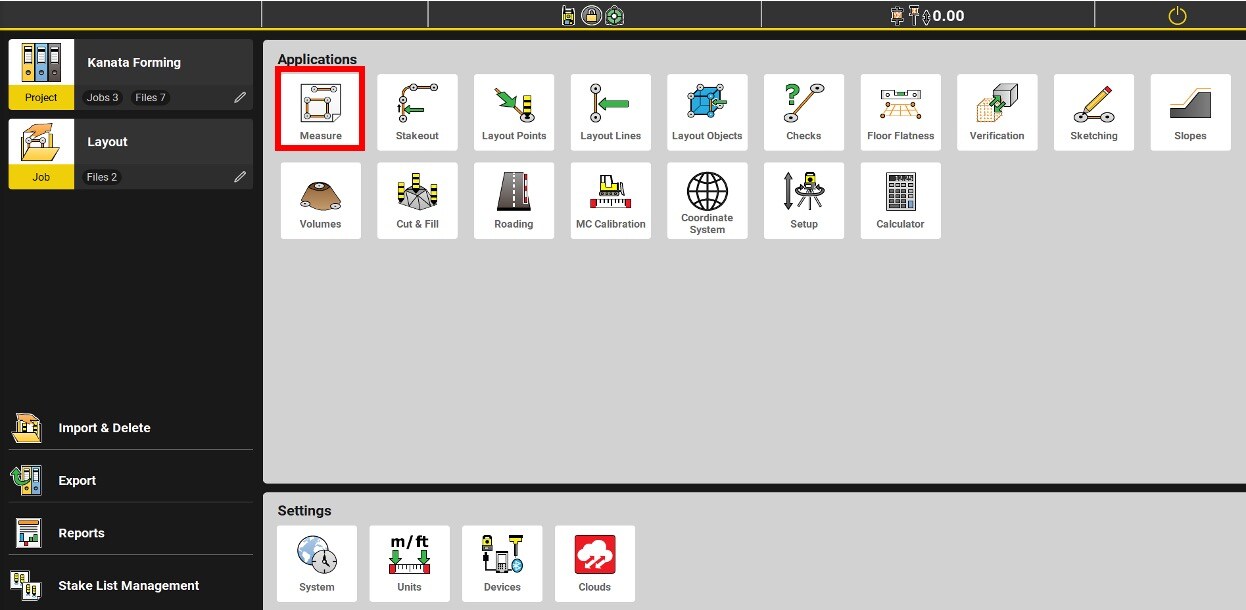
It is recommended to start by creating a new job within the project. A job is usually named according to the area or date of the job. The surveyed and created points are saved in the active job and you will be able to export each job independently.

The Measure program allows you to record points that can be used for different purposes:
•Construction of a triangulated surface (DTM),
•Calculation of volumes or areas,
•Creation of as-builts,
•Checks,
•Control points,
•Line drawing,
•Stakeout of lines or points...

The toolbox:
•Grid & Scan: Application requiring a license
•Automatic Logging: record points automatically (according to distance or time intervals)
•Shift: Read a point with an offset
•Reference: Read with a position in relation to a reference line
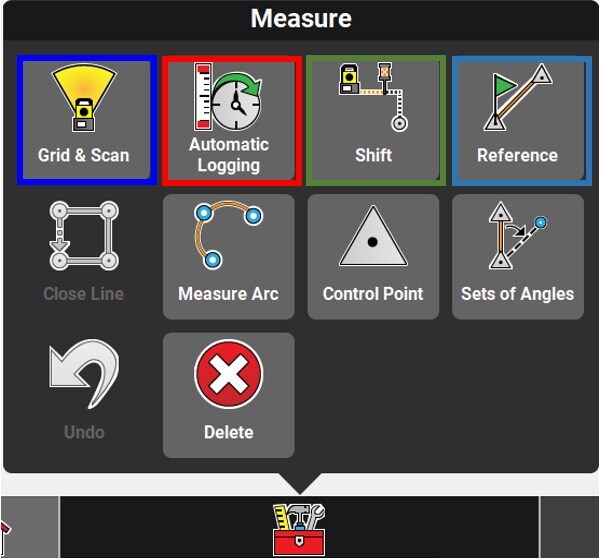
The toolbox:
•Close line: Close a polygon from the last to the first point surveyed
•Measure arc: Create an arc by recording 3 points
•Control point: Save as a control point
•Sets of Angles: Allows you to measure up to ten sets of points
•Undo: Go backwards
•Delete: Delete an item in the map

Action buttons configuration
* When the buttons on the measurement bar are pressed and held, the configuration menu appears.
In this menu you can determine the actions that will be offered in the measurement bar.
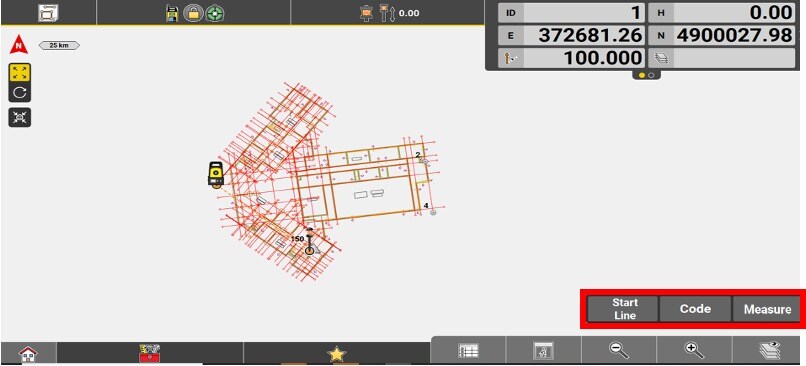

It is possible to draw lines and arcs by plotting points.
You must then configure the measurement bar to access the Start Line / Stop Line button.
Determine the ID of the next point with the POINT ID button. If the ID ends with numbers, it will automatically increment for the next points.

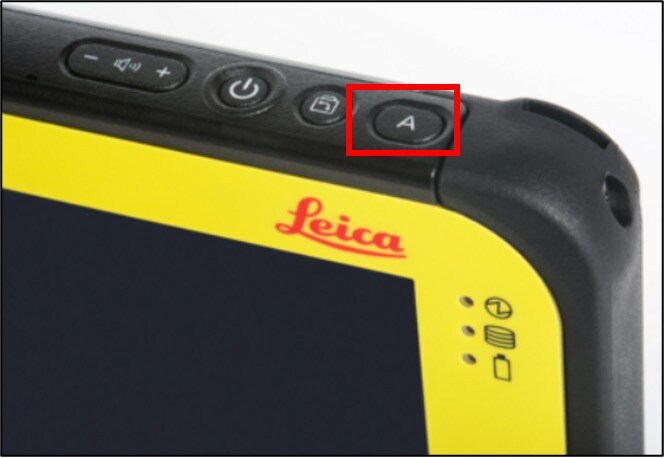
Recording is done by pressing the Store button in total station mode, or the MEASURE button in GNSS mode.
The external button A of the tablet does the same thing as these two buttons.
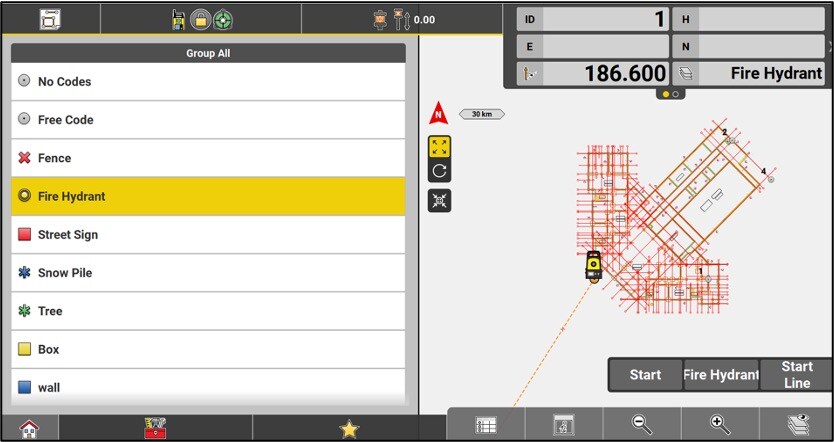
Codification
The coding of the points: Coding points means categorizing and organizing them.
The codes act as layers in ICON, separating the data. These layers will be preserved when exporting the points to DXF.
By pressing the Code button on the measurement bar, you can access the list of codes.
The code list can be created directly in iCON or imported, by going to Import Delete.

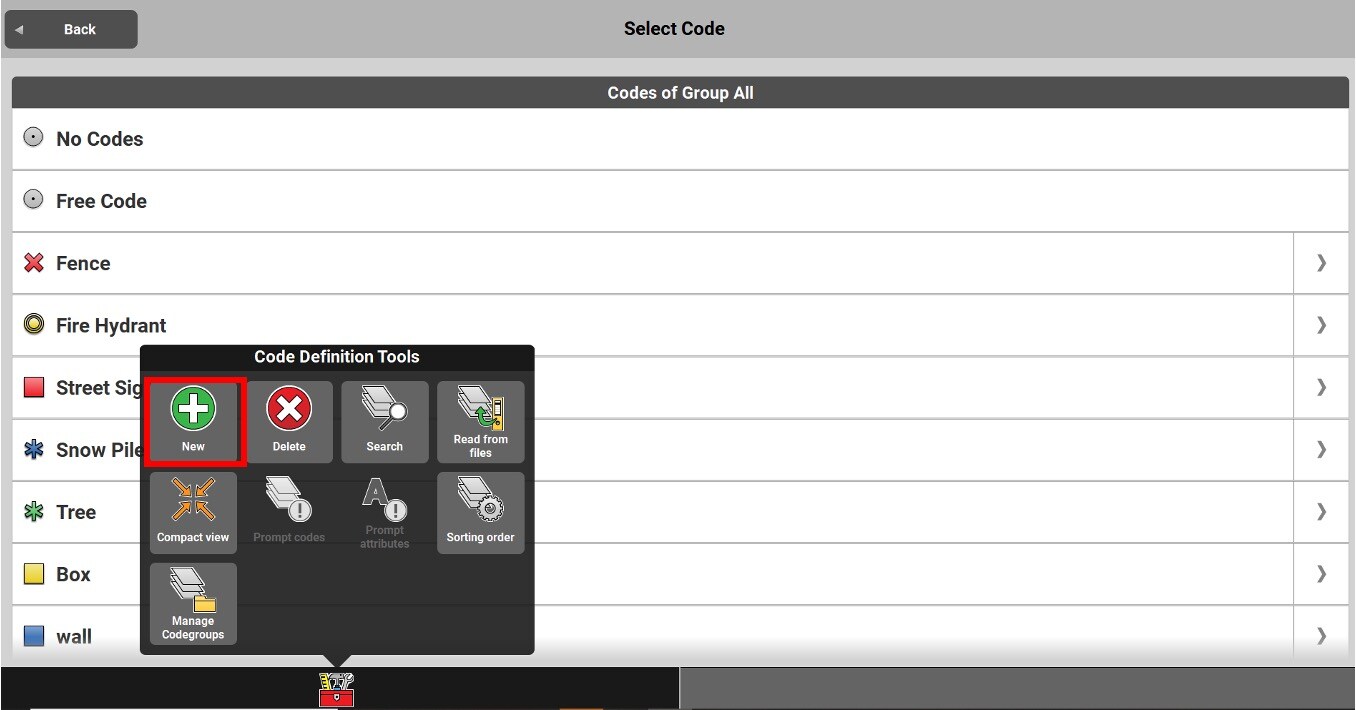
To create a code, head in the toolbox and select New.
Give the code a name and select the desired symbol to be displayed on the map. It is also possible to give a description to this code.
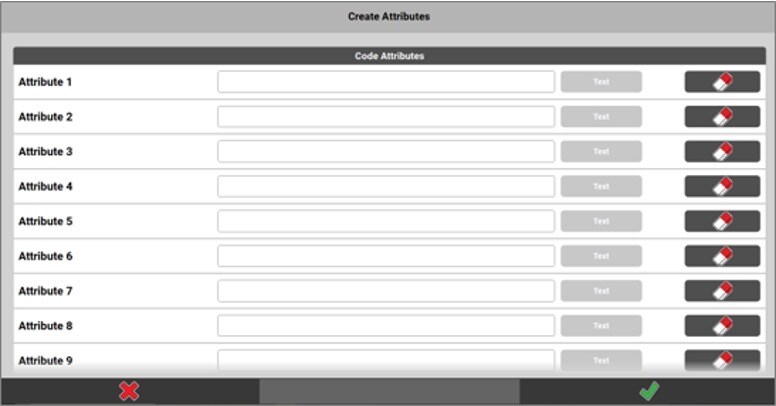
The point attributes must be set by going to Attribute Names.
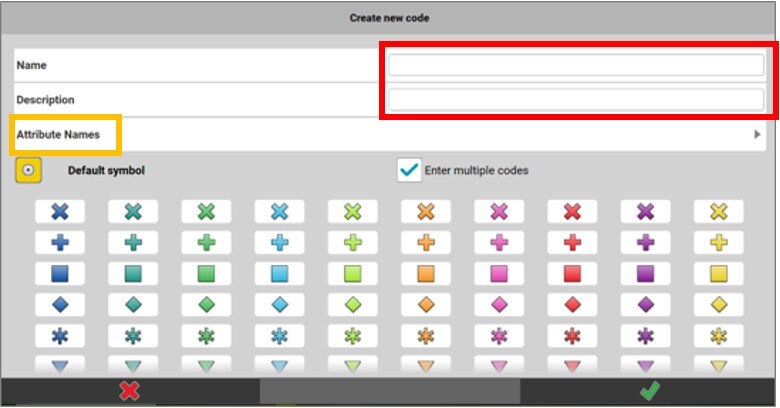
Up to 10 attributes can be defined.
Enter the name of the attribute, then choose between 3 attribute types: Text, Value (number), or List (when only certain words or values are possible).
Several options are available in the toolbox of the Codes menu:
•New: Create a new code.
•Delete: Delete a code.
•Search: Search the list of codes.
•Read from files: The codes of the imported files will appear.

Several options are available in the toolbox of the Codes menu:
•Compact view: Simplified, more compact code list.
•Prompt codes: The code will be requested at each point registration.
•Prompt attributes: The attribute will be requested at each point record.
•Sorting order: Change the order of the codes.
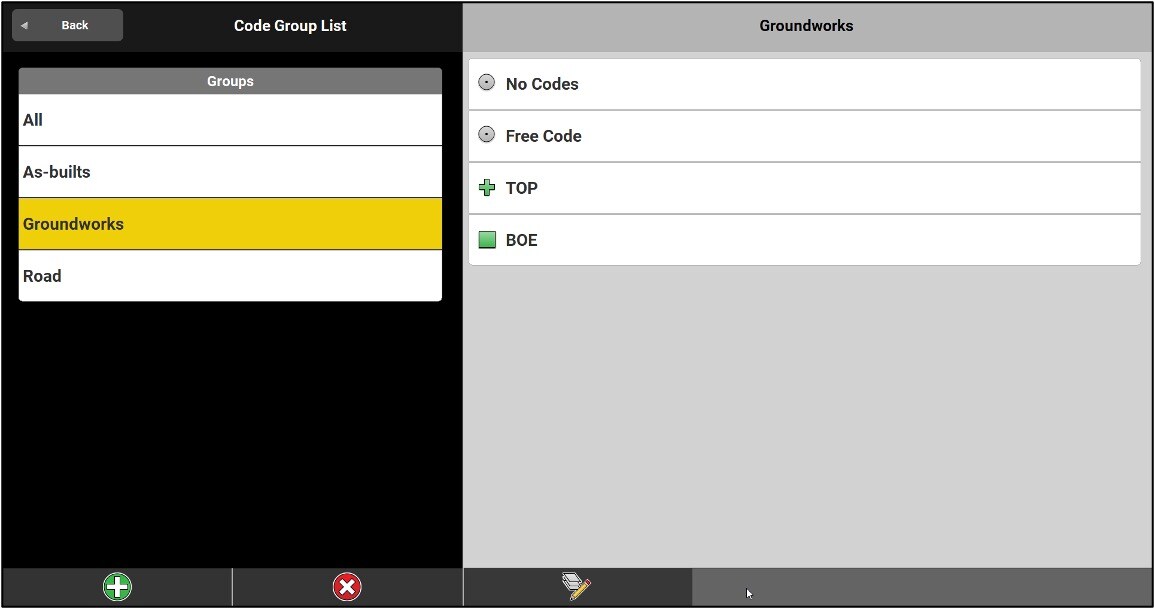
•Manage Codegroups: Create and manage code groups.

By going to Manage Codegroups, it is possible to create groups and modify them. Creating groups allows you to be much more efficient during a survey! It is also important to know that a well put together code list can be exported and reused in future projects. If this is the case, it is suggested to export it in a XML format.
As soon as the code list is ready, it's time to raise!
Go to the View menu, then to Quick Codes and turn the button to ON.

The screen will then be split in two and the user will have quick access to codes and code groups.